【Unity】オブジェクトを移動させる方法まとめ「Translate, Rigidbody, Vector3」
はじめに
この記事ではUnityの「transform」や「vector3」を使ったオブジェクトの移動方法を紹介します。
transformを使った移動
transform.Translate
これは、現在のオブジェクトの位置を基準にして移動したいときに使用します。
GameObject.Find("Object").gameObject.transform.Translate(x, y, z); のような使い方をします。スクリプトを直接オブジェクトに取り付けた場合、GameObject.Find("Object").gameObject は省略できます。これは以下全て同様です。
なお、GameObject.Find("Object")は比較的CPUへの負荷が大きいので、移動のようにUpdateで何度も繰り返す場合はオブジェクトに直接取り付けた方がいいでしょう。
では、以下のコードをコピペして使ってみてください(class名はMoveという名前にしているので、ここだけ自分が使ってるクラス名に変更してください)。
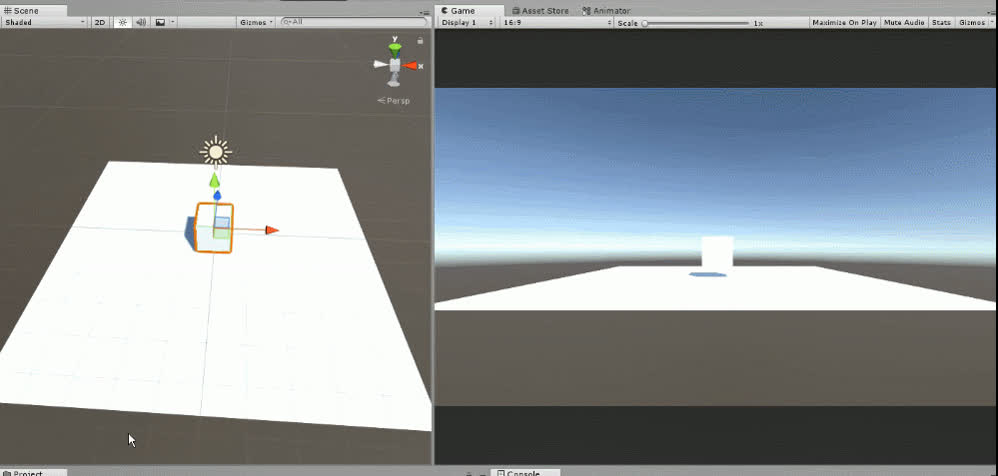
十字キーでオブジェクトが動くようになります。
using System.Collections;
using System.Collections.Generic;
using UnityEngine;

public class Move : MonoBehaviour {

	// Use this for initialization
	void Start () {

	}

	// Update is called once per frame
	void Update () {

        if (Input.GetKey(KeyCode.UpArrow))
        {
            transform.Translate(0f, 0f, 0.1f);
        }
        if (Input.GetKey(KeyCode.DownArrow))
        {
            transform.Translate(0f, 0f, -0.1f);
        }
        if (Input.GetKey(KeyCode.LeftArrow))
        {
            transform.Translate(-0.1f, 0f, 0f);
        }
        if (Input.GetKey(KeyCode.RightArrow))
        {
            transform.Translate(0.1f, 0f, 0f);
        }

    }

}
注意点
上記コードでとりあえず動くようになったと思いますが、実はこのコードは良いコードではありません。
Update()の繰り返しスピードはデバイスの性能によって異なるので、移動速度がパソコンでは早いけど、スマホでみると遅い、といった現象が生じるからです。
そういった場合、FixedUpdate()を使う必要があります。これは一定時間ごとに呼び出される関数ですので、これを使えばどのデバイスでみても同じ移動速度になります。移動処理には必ずFixedUpdate() を利用するようにしてください。
逆に、ボタン入力等は反応が早ければ早い方がいいので、Inputの処理はUpdate()に入れるべきです。
上記の理由から、コードを修正しました。以下のコードをコピペして使ってみてください。
このコードには「辞書型変数」のようにやや高度な構文を使ってますので、すぐには理解できなくても大丈夫ですが、とりあえず移動にはFixedUpdateを使うべきなんだな、ということを覚えておいてください。
using System.Collections;
using System.Collections.Generic;
using UnityEngine;

public class Move : MonoBehaviour
{
    float up = 0.1f;
    float right = 0.1f;

    // 辞書型の変数を使ってます。
    Dictionary<string, bool> move = new Dictionary<string, bool>
    {
        {"up", false },
        {"down", false },
        {"right", false },
        {"left", false },
    };

    // Use this for initialization
    void Start()
    {

    }

    // Update is called once per frame
    void Update()
    {
        move["up"] = Input.GetKey(KeyCode.UpArrow);
        move["down"] = Input.GetKey(KeyCode.DownArrow);
        move["right"] = Input.GetKey(KeyCode.RightArrow);
        move["left"] = Input.GetKey(KeyCode.LeftArrow);
    }

    void FixedUpdate()
    {
        if (move["up"])
        {
            transform.Translate(0f, 0f, up);
        }
        if (move["down"])
        {
            transform.Translate(0f, 0f, -up);
        }
        if (move["right"])
        {
            transform.Translate(right, 0f, 0f);
        }
        if (move["left"])
        {
            transform.Translate(-right, 0f, 0f);
        }
    }
}
transform.position
オブジェクトの座標を指定して移動します。本来は transform.position = new Vector3(0f, 0f, 0f); のような使い方で指定した場所へワープさせたいときに使用することが多いです。
今回のように現在の座標に加算すればtransform.Translateと同じような移動も可能です。
transform.position += transform.forward * 1f * Time.deltaTime; のように使います。
transform.forward はオブジェクトが向いている方向のベクトル、1f * Time.deltaTimeは1 m/s の速さで処理を行うことを示しています。
using System.Collections;
using System.Collections.Generic;
using UnityEngine;

public class Move : MonoBehaviour {

	// Use this for initialization
	void Start () {

	}

	// Update is called once per frame
	void Update () {

        if (Input.GetKey("up"))
        {
            transform.position += transform.forward * 1f * Time.deltaTime;
        }
        if (Input.GetKey("down"))
        {
            transform.position -= transform.forward * 1f * Time.deltaTime;
        }
        if (Input.GetKey("right"))
        {
            transform.position += transform.right * 1f * Time.deltaTime;
        }
        if (Input.GetKey("left"))
        {
            transform.position -= transform.right * 1f * Time.deltaTime;
        }

    }

}
Vector3を使った移動
Vector3.MoveTowards
指定した座標に向かって移動したいときに使います。ターゲットを追いかけたいときに使用することが多いです。
using System.Collections;
using System.Collections.Generic;
using UnityEngine;

public class Move : MonoBehaviour {

    Vector3 direction = new Vector3(0f, 10f, 10f);
    float speed = 1.0f;

    // Use this for initialization
    void Start () {

	}

	// Update is called once per frame
	void Update () {

        float step = speed * Time.deltaTime;
        transform.position = Vector3.MoveTowards(transform.position, direction, step);

    }

}
Vector3についてさらに詳しく知りたい方はこちらの記事もご覧ください
/posts/unity-beginner-vector3/
Rigidbodyを使った移動
Rigidbody.AddForce
オブジェクトに物理的な力を加えて移動させます。Cube に Rigidbody コンポーネントを取り付け、物理演算や加速度を利用したいときに使います。
これまではInput.GetKey で bool 型の trueを取得し、実行していましたが、
Input.GetAxis("Vertical") を使って float の値を取得しています。値の範囲は -1 ~ 1 です。
今回の場合、AddForce(x, 0, z) で x軸方向にInput.GetAxis("Horizontal") * speed、z軸方向にInput.GetAxis("Vertical") * speedの力を加えます。
FixedUpdate() はRigidbodyを使う際によく用いられます。Update() はパソコンの性能によって処理間隔が異なりますが、FixedUpdate() は性能に関わらず一定となります。
もしFixedUpdate() を使わないと、Addforceする間隔が機械によって異なるため、移動速度が変化してしまいます。
using System.Collections;
using System.Collections.Generic;
using UnityEngine;

public class Move : MonoBehaviour {

    Rigidbody rb;
    float speed = 10.0f;

    // Use this for initialization
    void Start () {
        rb = GetComponent<Rigidbody>();
	}

    // Update is called once per frame
    void FixedUpdate()
    {
        float x = Input.GetAxis("Horizontal") * speed;
        float z = Input.GetAxis("Vertical") * speed;
        rb.AddForce(x, 0, z);
    }

}